Developer setup
Adding SSH keys to the user account
If the user is prepared to suggest changes to the upstream repositories, the first step is to setup at least one SSH key. You can create a public/private key pair locally in your PC as follows:
$ ssh-keygen -t rsa
The previous command will generate a public key (~/.ssh/id_rsa.pub) and a private key (~/.ssh/id_rsa). The user should then navigate in the gitlab site to the “SSH keys” section in the “User Settings” of the new user profile in order to register the SSH key. The user should copy and paste the public key that was generated (i.e. ~/.ssh/id_rsa.pub).
Fork and checkout the project
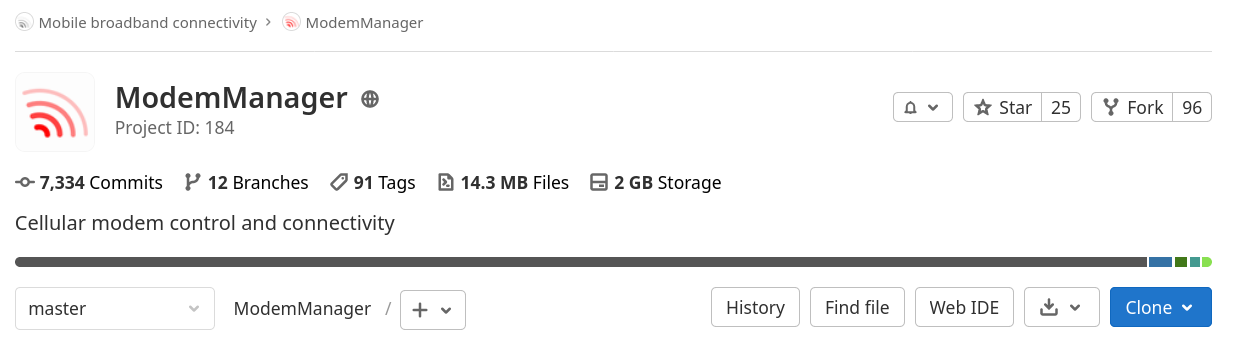
Once the user is logged in the new account, a new Fork button will be shown at the top-right corner in each of the upstream project pages.
The user should only fork the project that needs to modify. There is really no need to create user forks if the user isn’t going to suggest any modification to the upstream repositories. E.g. if the user is planning to fix a bug in ModemManager, there would be no need to fork libmbim, libqmi or libqrtr-glib.
Once the project is forked, gitlab will create a whole new project page under the user account. E.g. if all four projects are forked by username:
- ModemManager: https://gitlab.freedesktop.org/username/ModemManager
- libqmi: https://gitlab.freedesktop.org/username/libqmi
- libmbim: https://gitlab.freedesktop.org/username/libmbim
- libqrtr-glib: https://gitlab.freedesktop.org/username/libqrtr-glib
These forked projects will have their own Clone buttons, and when they are clicked, the user-specific clone paths will be shown.
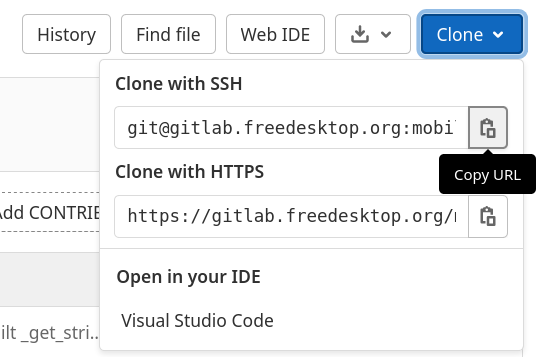
The user should use the paths listed under Clone with SSH, and the clone operations will succeed if the SSH keys were configured properly in an earlier step.
  $ git clone git@gitlab.freedesktop.org:username/libqrtr-glib.git
  $ git clone git@gitlab.freedesktop.org:username/libmbim.git
  $ git clone git@gitlab.freedesktop.org:username/libqmi.git
  $ git clone git@gitlab.freedesktop.org:username/ModemManager.git
Setup upstream remote
As soon as the new user-specific git repositories are cloned, they will have the origin remote configured to point to them. These git repositories will not be automatically kept in sync with the original upstream repositories, it is up to the user to do that.
In order to make sure the user can sync with the upstream repositories periodically, a new additional remote can be setup as follows:
  $ cd libqrtr-glib
  $ git remote add upstream https://gitlab.freedesktop.org/mobile-broadband/libqrtr-glib

  $ cd libmbim
  $ git remote add upstream https://gitlab.freedesktop.org/mobile-broadband/libmbim.git

  $ cd libqmi
  $ git remote add upstream https://gitlab.freedesktop.org/mobile-broadband/libqmi.git

  $ cd ModemManager
  $ git remote add upstream https://gitlab.freedesktop.org/mobile-broadband/ModemManager.git
Once the upstream remotes are setup, the user can now sync the main branch between both. E.g.:
  $ cd libqrtr-glib
  $ git checkout main                  // change to the main branch
  $ git fetch upstream                 // fetch updates from upstream remote
  $ git merge upstream/main            // merge changes from upstream main branch
  $ git push origin main               // update main branch in origin remote

  $ cd libmbim
  $ git checkout main
  $ git fetch upstream
  $ git merge upstream/main
  $ git push origin main

  $ cd libqmi
  $ git checkout main
  $ git fetch upstream
  $ git merge upstream/main
  $ git push origin main

  $ cd ModemManager
  $ git checkout main
  $ git fetch upstream
  $ git merge upstream/main
  $ git push origin main
During development, it’s suggested to keep separate per-feature or per-fix branches, and keep the main branch always in sync with the upstream repository.